Before you read this blog and experiment with the settings, check out my friend Carley Calico’s blog on photo composition. While settings are a big part of creating a beautiful photograph, composition plays a major role, too.
Ok, so there are three main features to master for beginner photography in manual. I stress beginner because I know the pros are snickering at this statement. Regardless, these three features will give you the skills to capture beautiful photos in manual mode. So when you say, “Yeah, I took that. No big deal” you can brush your shoulders off, too, because you did take the photo without relying on your camera. Go on, *brush your shoulders off*.
The three features are:
- ISO
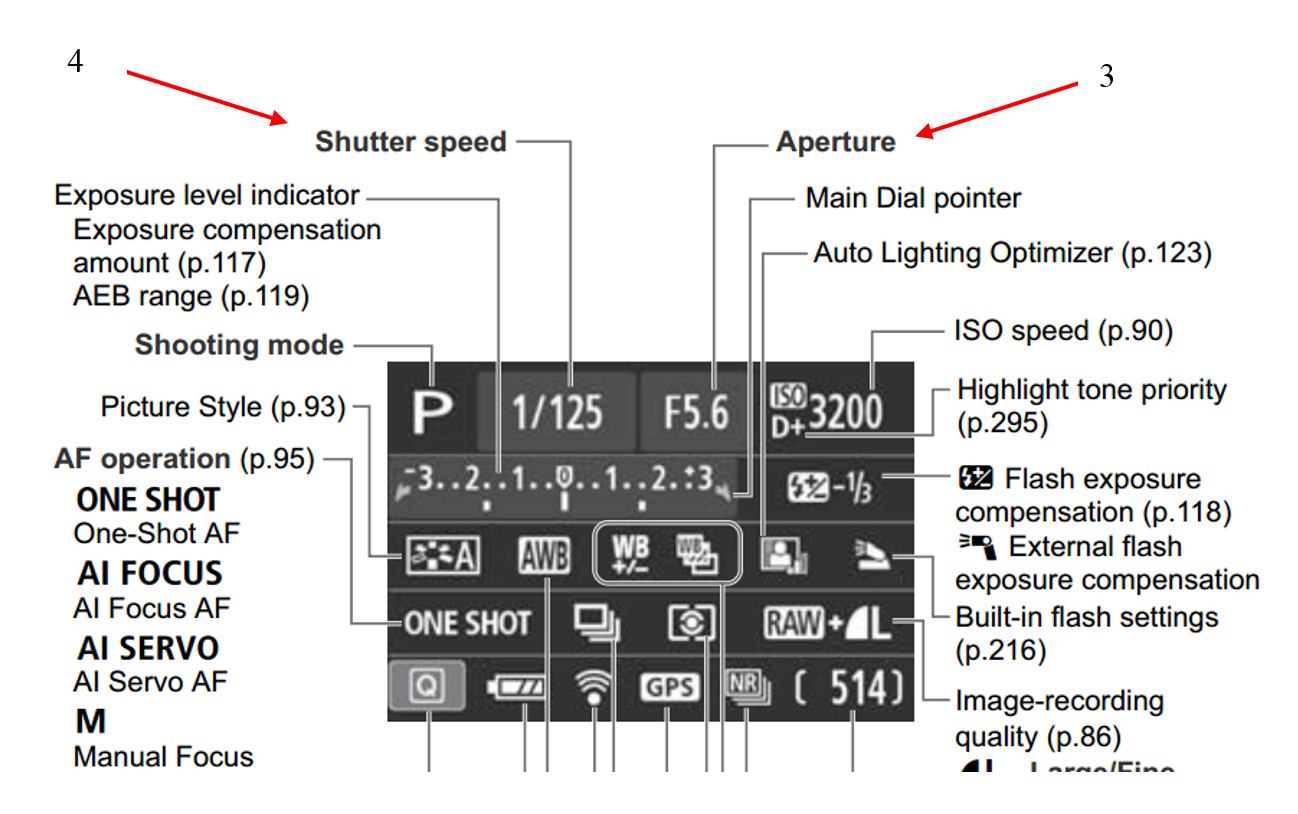
- Shutter Speed
- Aperture
You’ll notice a trend in these features – light. Each settings can affect how much light your camera absorbs which can affect exposure. Too much light and a photo can be overexposed where as too much little can result in an underexposed photo. It’s a tricky situation to balance the three amigos, but once you start adjusting the settings frequently, you’ll learn which is the right one to adjust and how much.
ISO is the sensitivity of an image sensor. A lower ISO means a lower sensitivity to light. However, the photo is also less grainy. Higher ISOs can be used in darker lighting situations, but with a higher ISO comes more “noise”. The photo develops a grainy shot as compared to a crisp shot. My Canon t4i’s ISO ranges from 100-12800, which is a ridiculously high number in my opinion. I personally never go above 400 to maintain image quality. So don’t over adjust the ISO, got it. What’s next?
Think back to a previous post. Shutter speed is the time that the camera shutter is open to capture the picture. This camera’s shutter can be as little 1/4000th of a second to capture moments such as in sports. Lower shutter speeds would be used to capture the entire motion such as, light streaks at night.
Now you’re probably thinking – So what? Well this means that higher shutter speeds let in less light (because the shutter is open for a shorter time period) and vice versa. Ok, so on cloudy days/dim lighting I need a lower shutter speed, got it. Not exactly. Shutter speed is also needed to capture movement. So if any subjects are going to be moving (and if you’re like me and only take photos of your dogs that can’t sit still), you need a relatively fast shutter speed. So how do I correct lighting issues now?
Aperture is the degree to which the lens is open that effects the amount of light let in by the camera. A lower aperture actually means a larger opening allowing more light whereas a higher aperture results in a smaller opening with less light. This is probably my favorite feature. My Canon EF 50mm f/1.8 handles this like a dream. It’s quite the bundle for your money.
It also enables the camera to adjust the depth of field. This means that parts of the background is not in focus, or blurred out. That way the focus is only on the main subject and viewer is not distracted by the background. It is also a casual photographer’s best friend when photographing candid shots children (or fur children for me) at home without worrying about the laundry or dishes in the background. Thank god no one can see how far behind I am. Phew.
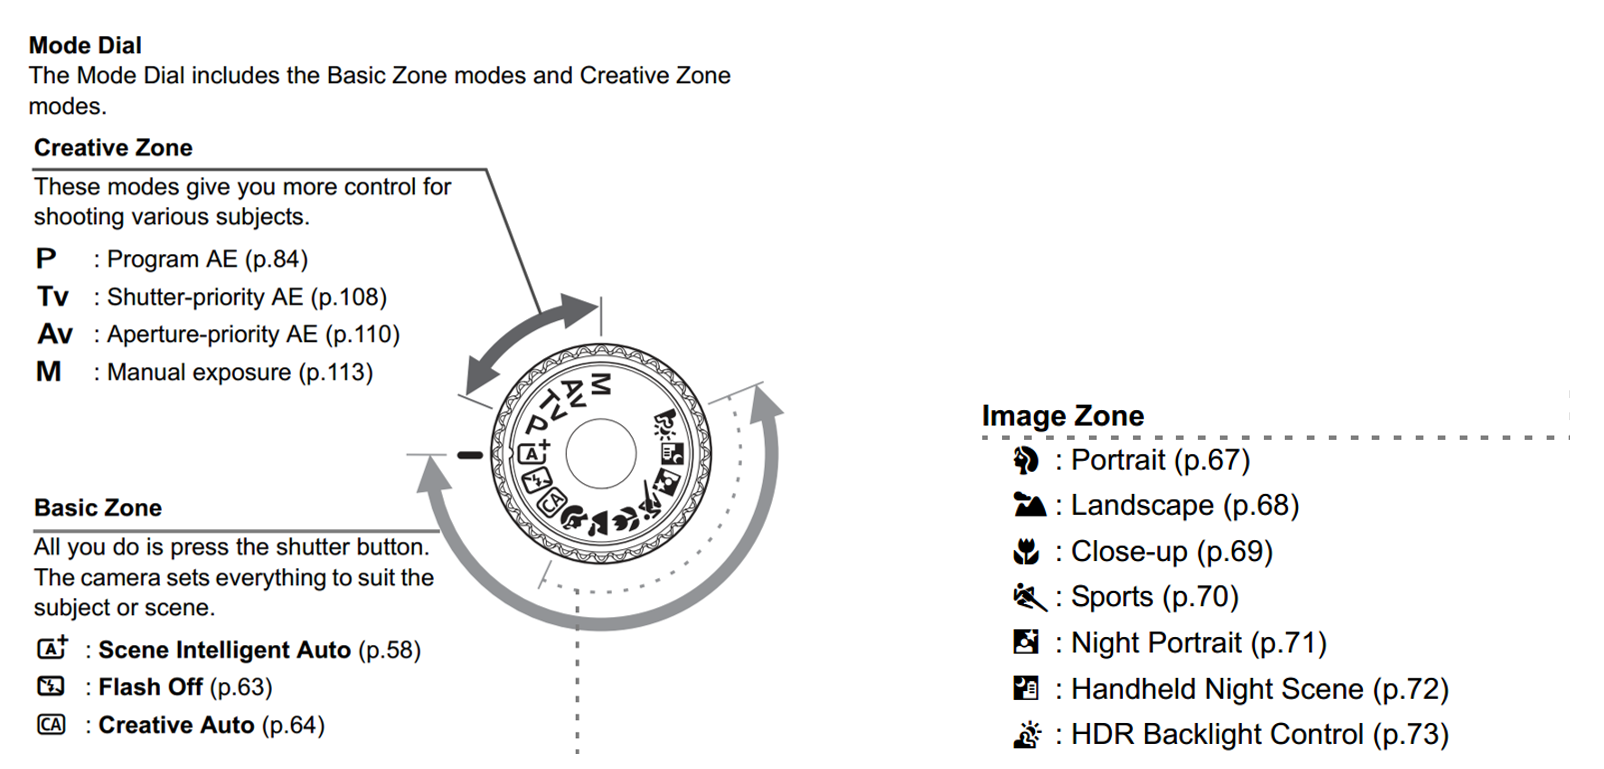
Here is a graphical representation of all the mumbo-jumbo above.

So let’s see how this process works. Warning: This can be a long and tedious process. A lot of people choose automatic because it is much easier. You can adjust manual settings for when you’re facing away from the sun, but guess what – when your turn…you guessed it, you must change the settings again. If it’s so much work then why does anyone choose manual? It’s simple. Manual gives the photographer a sense of accomplishment and pride. You captured that glorious photo not the camera, you chose the correct settings, you are the reason the photo is admired by all. And I feel like I should state for the record that in no way, shape, form, or fashion am I labeling myself as a “professional photographer”. I have no aspirations to turn this hobby into a career. I prefer to capture life in action rather than creating photo shoots, and that is my goal for photography skills. So this is typically what happens when I start to adjust settings…

f1.8 ISO 400 1/500th/second
Holy krap, that photo is blinding. Too. Much. Light.

f1.8 ISO 400 1/2000th/second
Better but still too much.

f1.8 ISO 400 1/4000th/second
Getting closer.
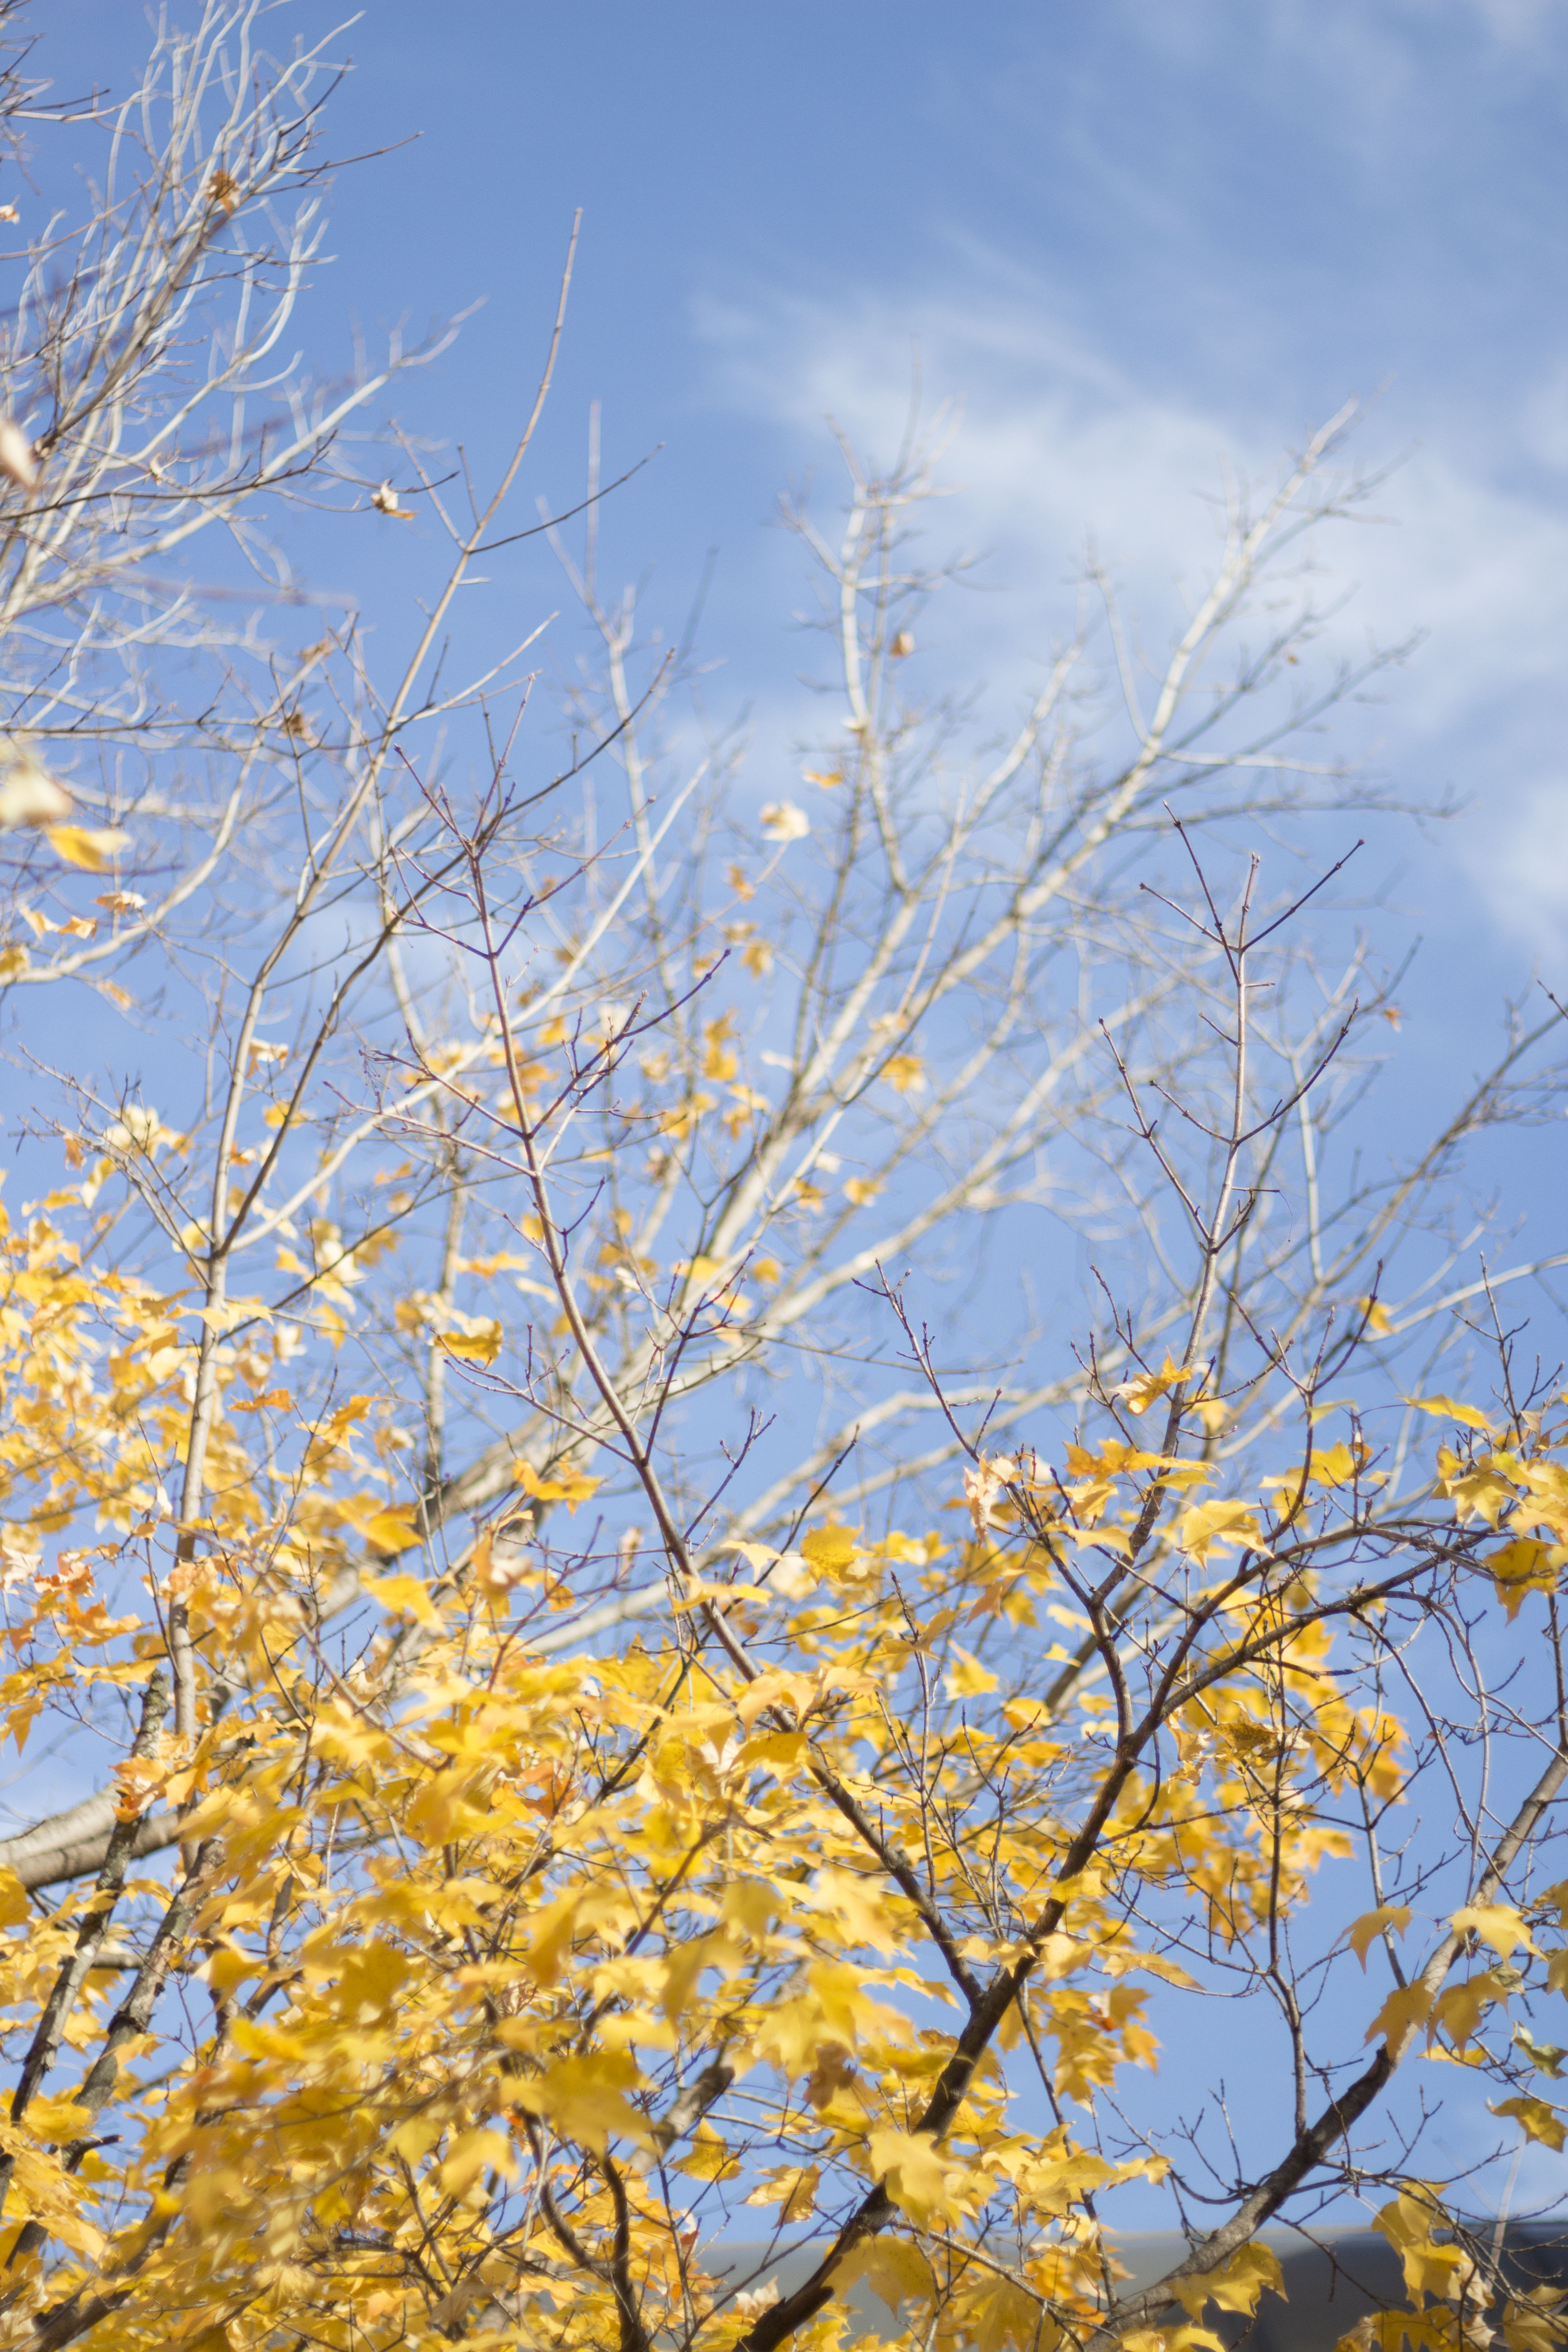
f1.8 ISO 200 1/4000th/second
Finally.
Now as you may have noticed, aperture stayed the same throughout that process. Well I have my reasons. I’m really digging the utilization of depth of field right now so I love to keep a low aperture. Also, aperture lets in natural light, as opposed to ISO, and I try to keep a generally fast shutter speed to account for for my inability to hold a camera still. And I’m generally taking photos of dogs running, which requires a fast shutter speed.
So hopefully this has helped you learn a little more about adjusting settings to capture stunning photos. Just remember as I stated and demonstrated, this is a tedious and sometimes annoying process so hang in there. It’s rewarding in the end. Go forth young grasshopper and capture all of life’s greatest moments.
Here are a few examples of my life’s favorite moments. Hopefully they can ignite your passion for photography. These photos were uploaded from a raw format and no editing adjustments have been made yet.

These photos are of my dog, Leo, and were taken at my apartment on April, 29th.
f/1.8 1/1600 100

f/1.8 1/1600 100

f/1.8 1/1600 100
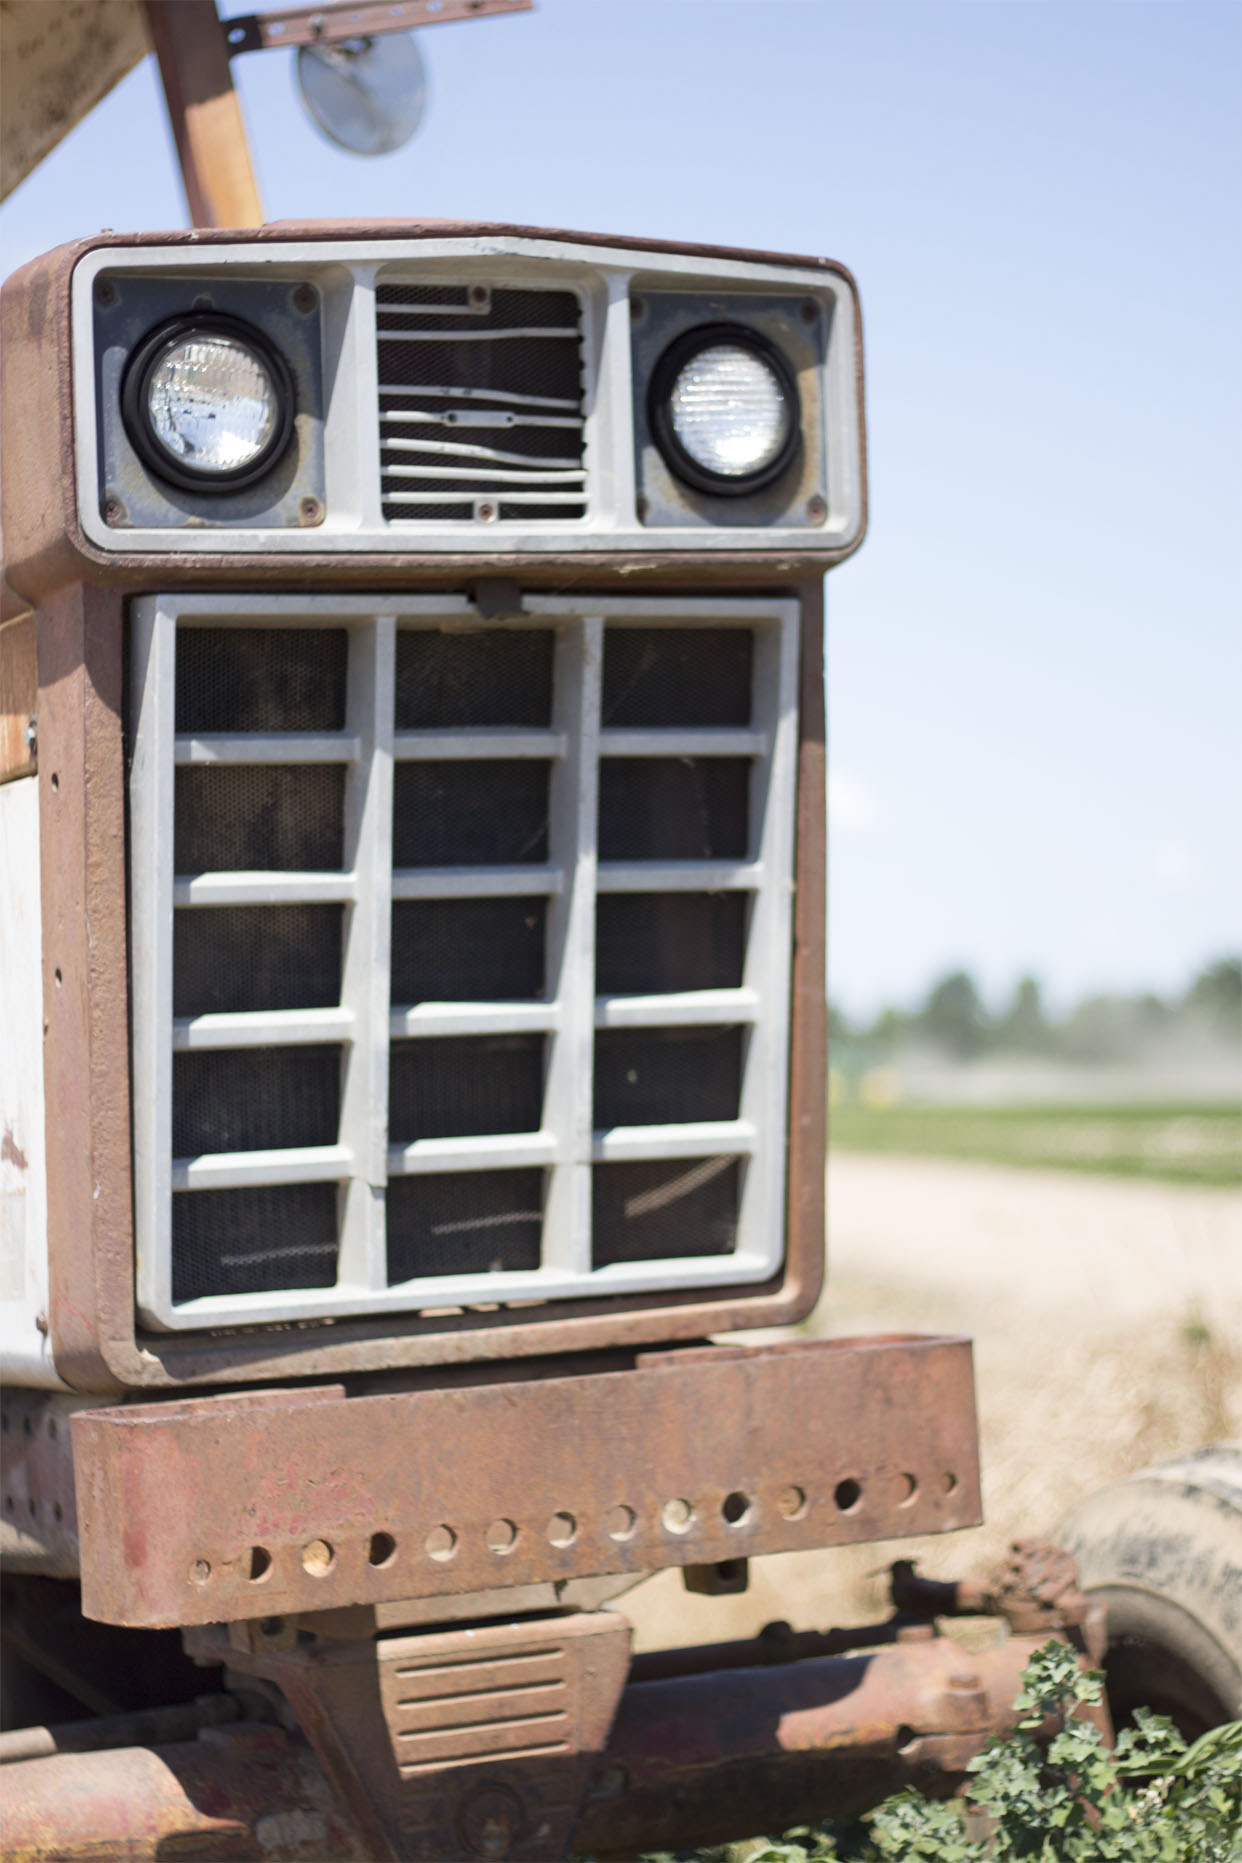
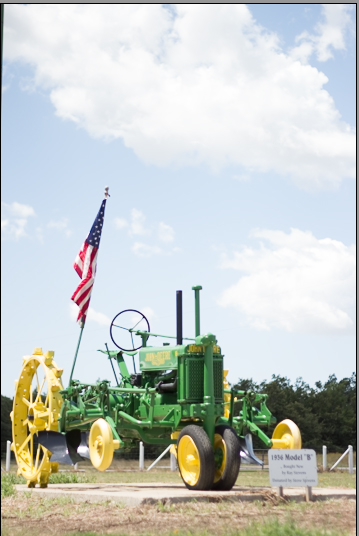
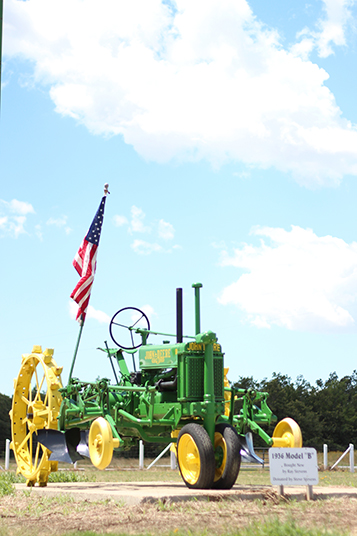
This photo is of an antique tractor on Shannon Davis’ farm in Bono, AR on June 28th.
f/1.8 1/2500 100
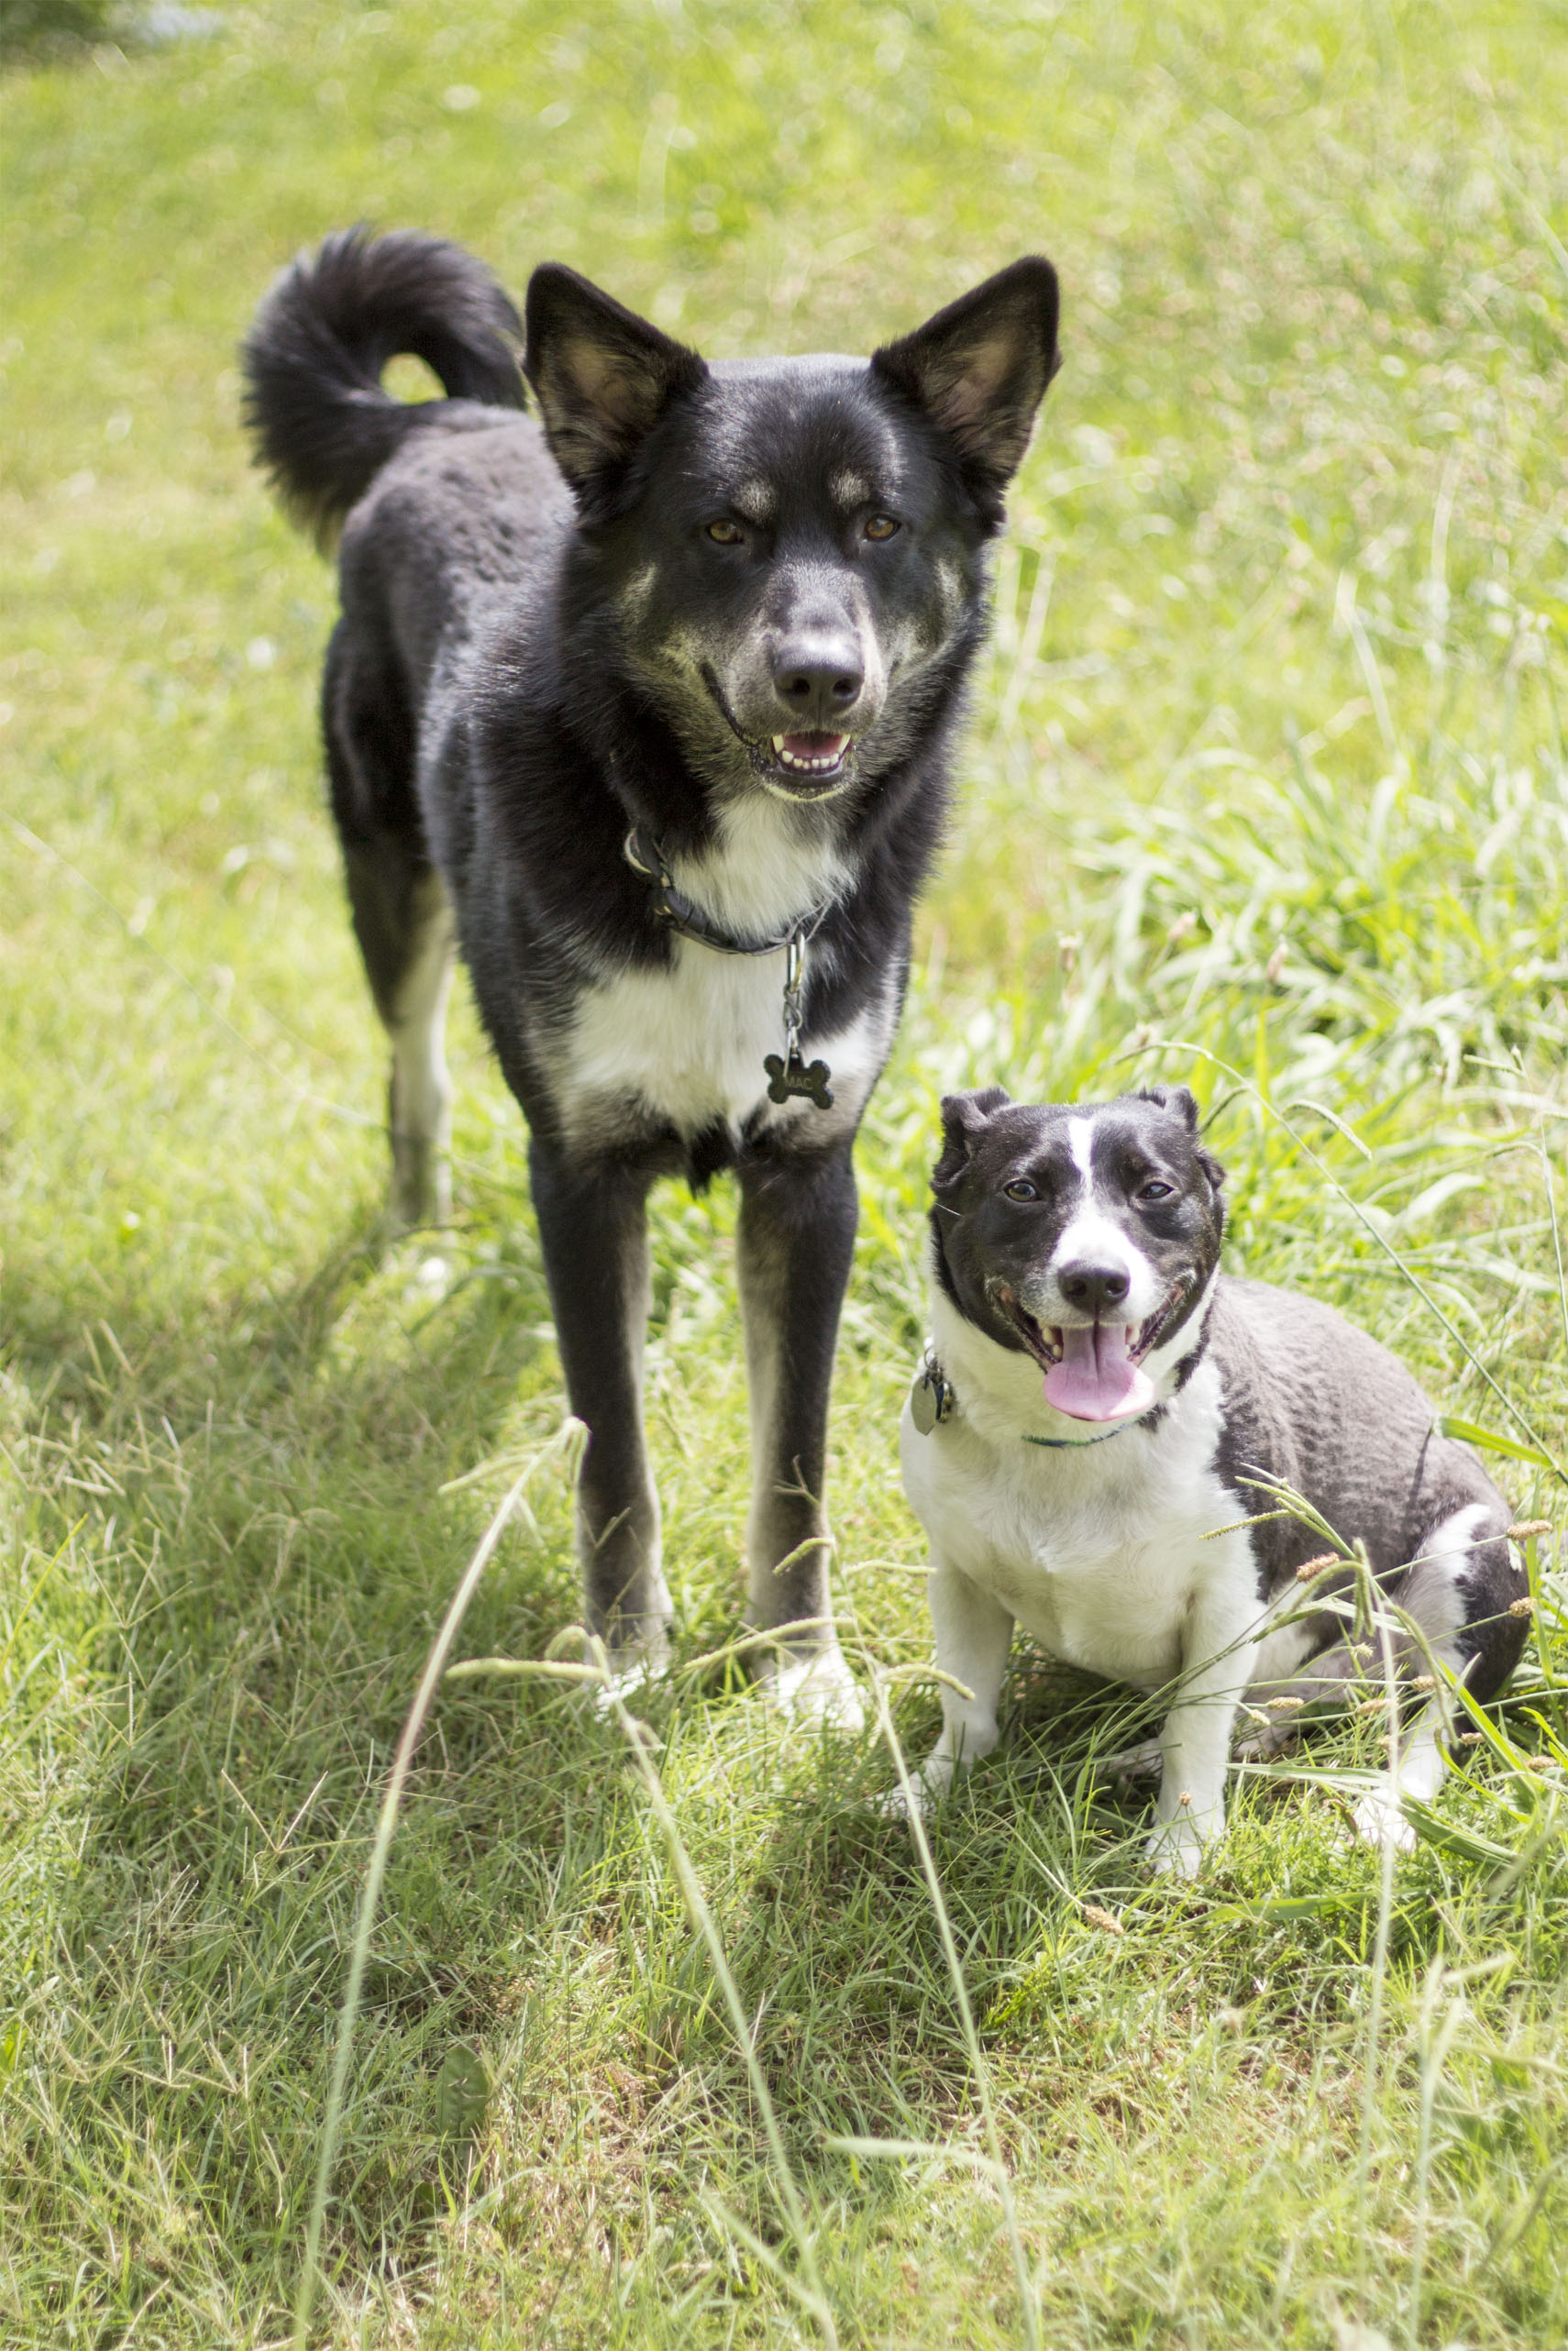
This photo is of Leo and Mac, my boyfriend’s dog. It was taken at my boyfriend’s house on June 30th.
f/1.8 1/4000 200
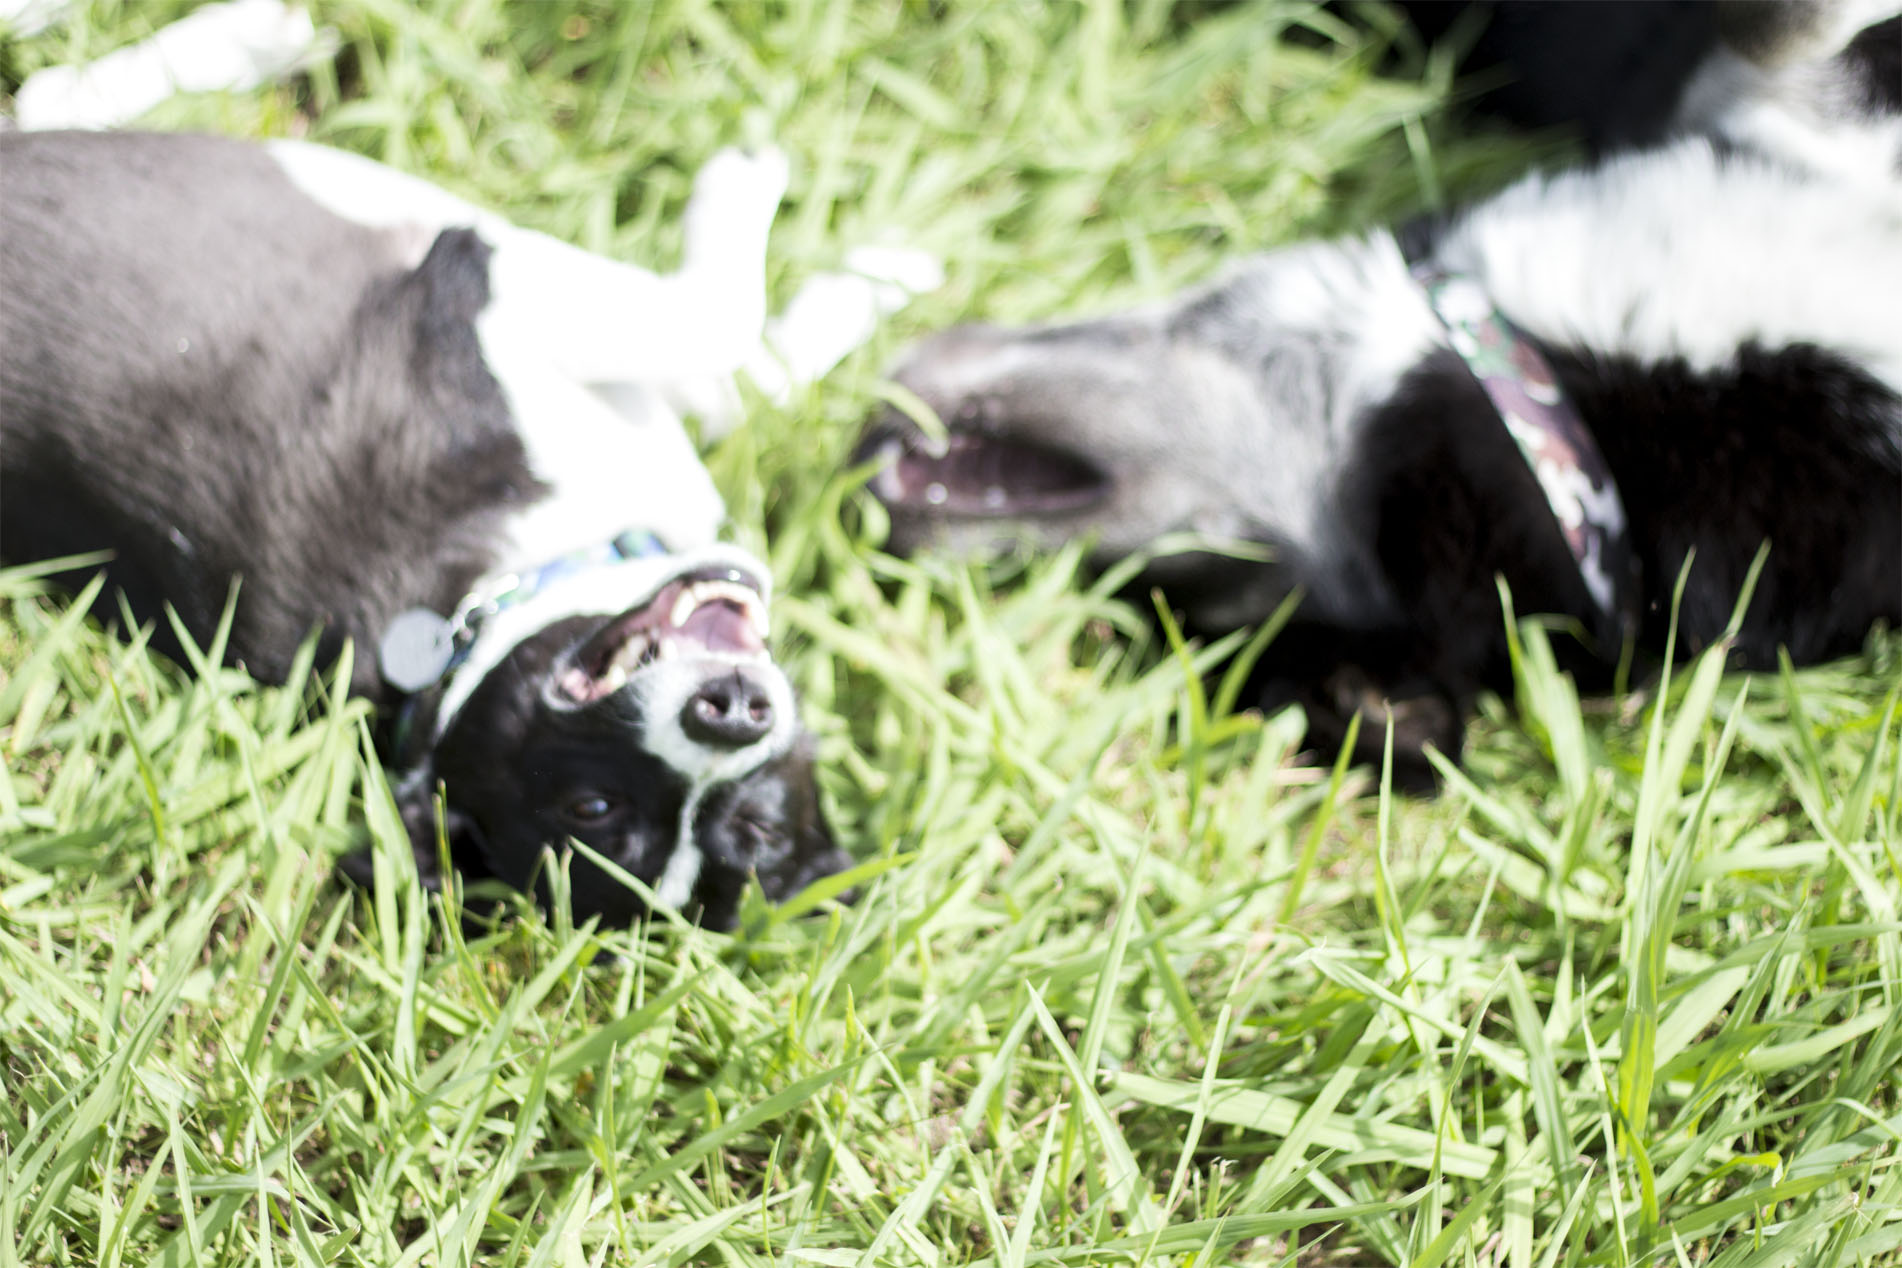
Mac & Leo again. Leo may be super washed out but I absolutely love this photo.
f/1.8 1/3200 200

This is Mac again taken at my boyfriend’s house. Isn’t he majestic?
f/1.8 1/3200 200